
This article is created by following the instructions on Mr. Gerry Hampson's blog and re-written for my own personal documentation.
http://www.gerryhampsoncm.blogspot.com.tr/2014/03/create-customised-reference-image-with.html
All credit goes to Dear Mr. Gerry Hampson.
As I've read articles about how to deploy OS in your environment , I noticed that most MVP's preferred method is using MDT 2013 Lite Touch Build & Capture method for creating reference OS images and using SCCM for the deployment.
We will see how to create a reference image using MDT 2013 Lite Touch Build & Capture method first.
In Part 1, we install MDT, ADK and create a distribution share.
In Part2, We add Operating System to the distribution share
In Part3, We create the build and capture task sequence and boot media
In Part4, We build and capture the reference image
In Part5, We edit our task sequence and add a pause task to do some customization on the image that we would create
Part1:
We need to download and install MDT2013 Update2 first. You can use the link below.
https://www.microsoft.com/en-us/download/confirmation.aspx?id=50407
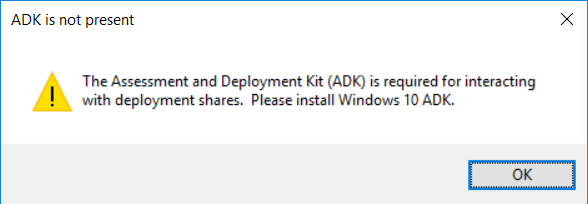
Start Deployment Workbench and you will get a warning message that states we need to install Windows 10 ADK.
Download and install Windows 10 ADK with the options as follows.
https://msdn.microsoft.com/en-us/windows/hardware/dn913721(v=vs.8.5).aspx

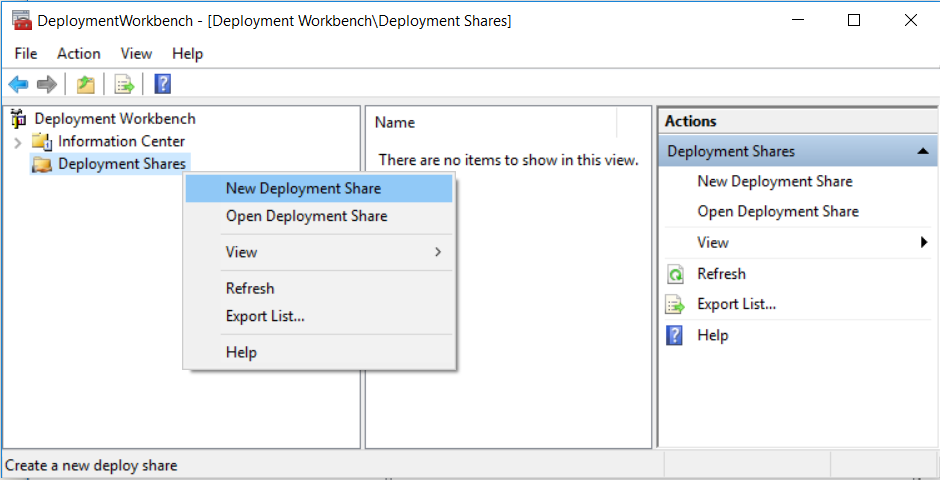
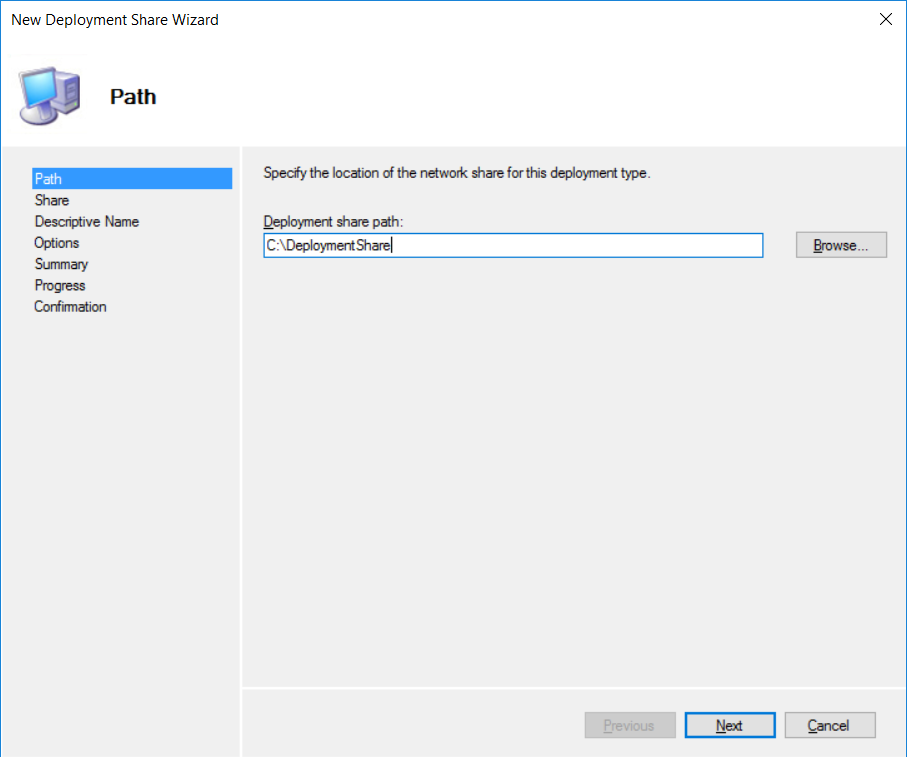
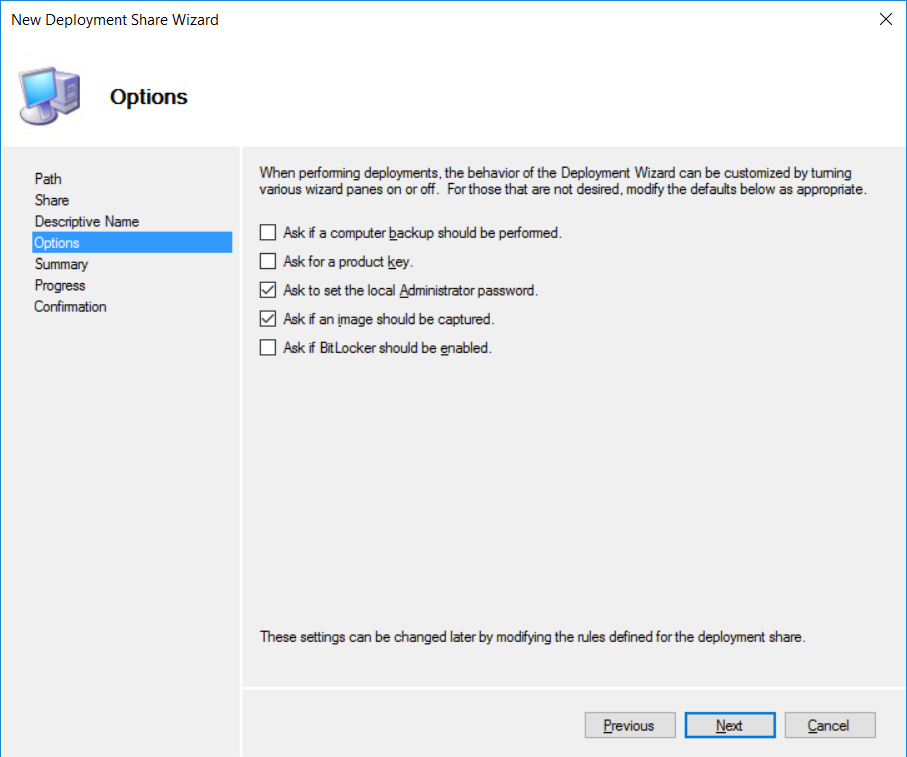
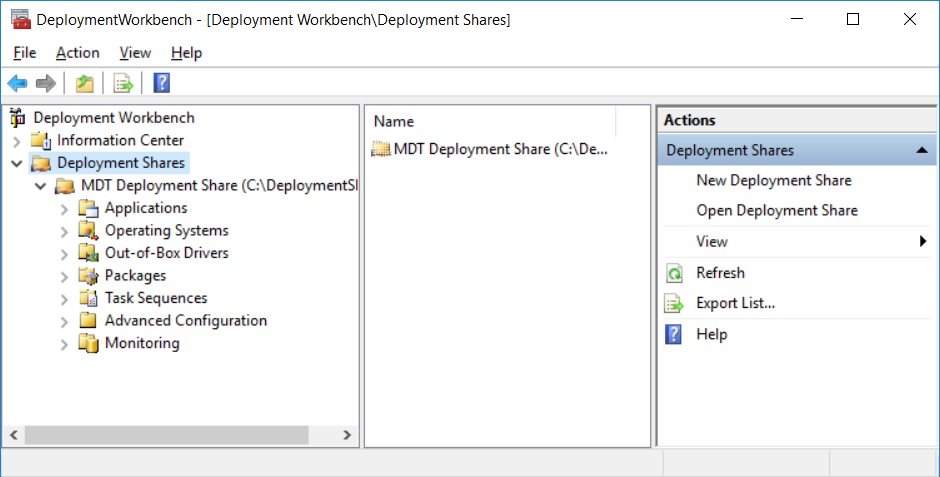
After the installation done, Create a folder named "DeploymentShare". Start Deployment Workbench. We need to configure Deployment Share.
Click Next
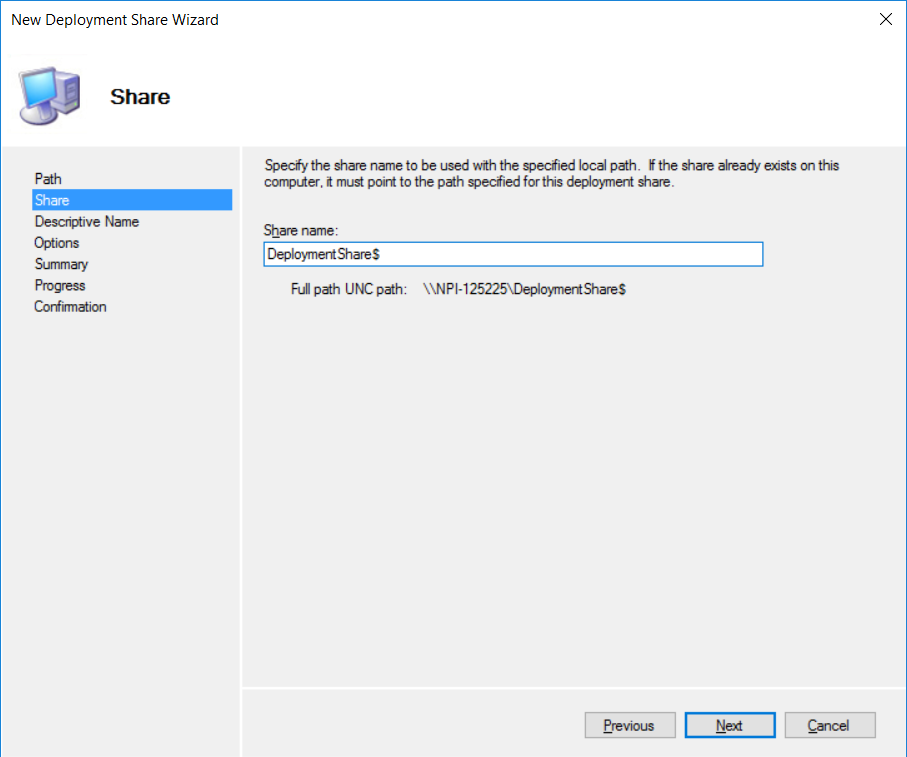
Click Next
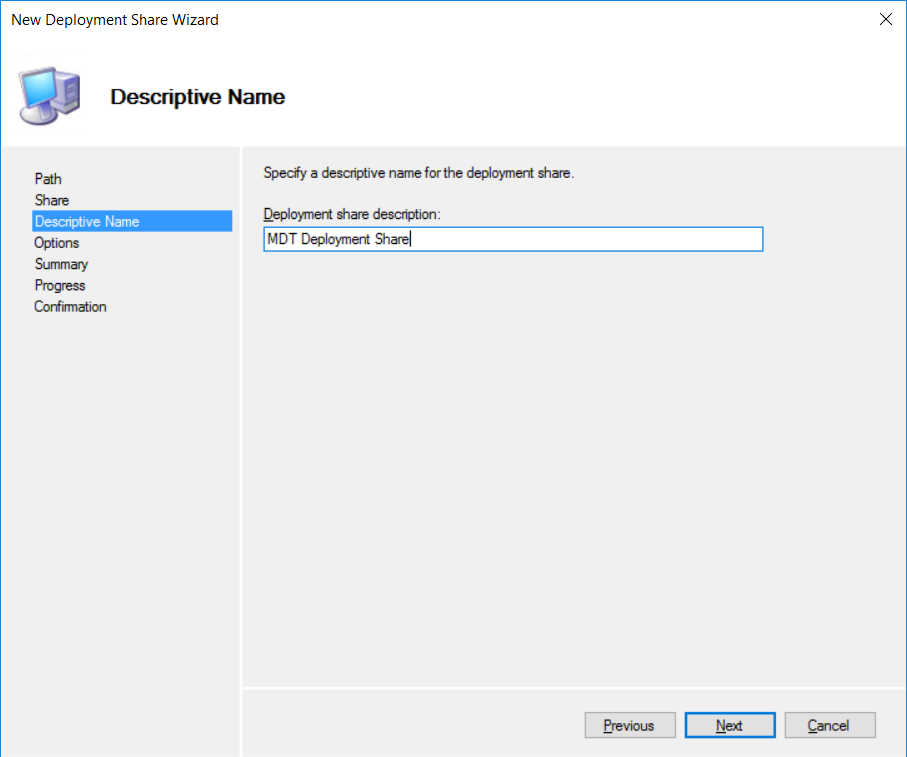
Select the options below and click Next
And complete the rest of the wizard and distribution share will be created.
Part 2:
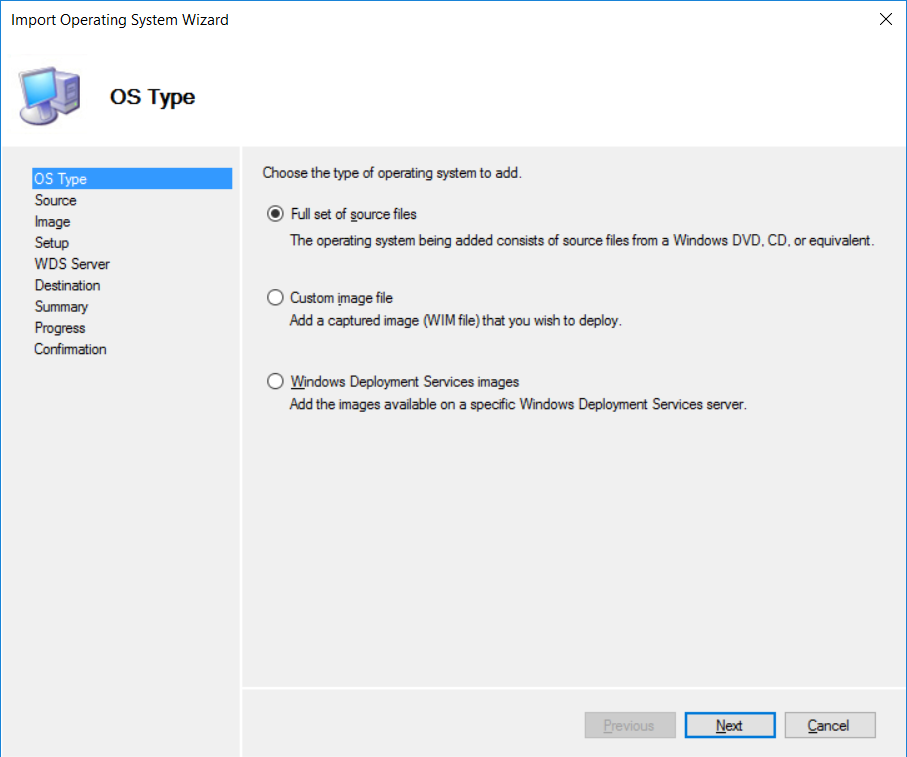
Right Click Operating Systems folder and choose Import Operating System
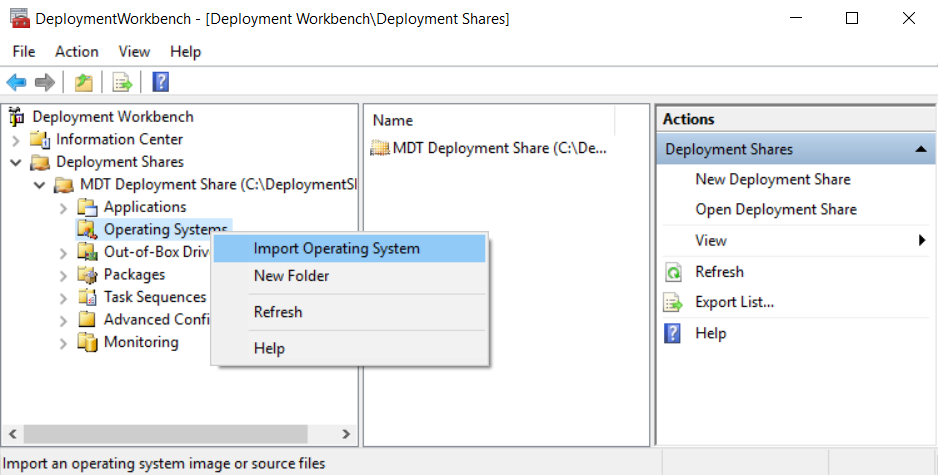
Choose "Full set of source files"
Insert the DVD to your Optic Drive
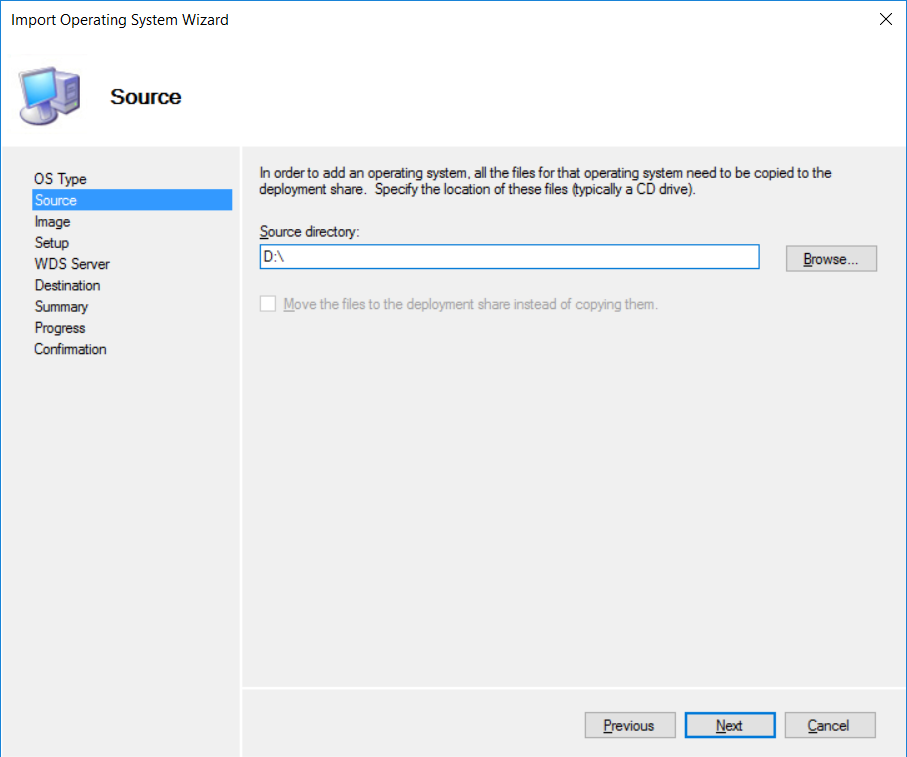
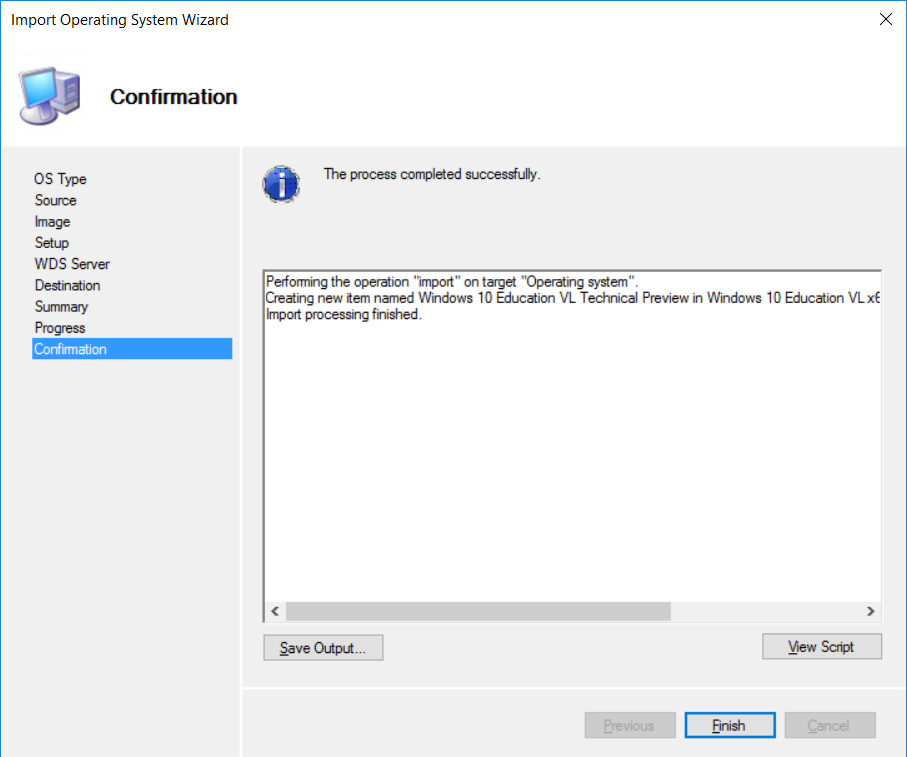
Specify the name of the directory for this OS and complete the rest of the wizard.

Part3:
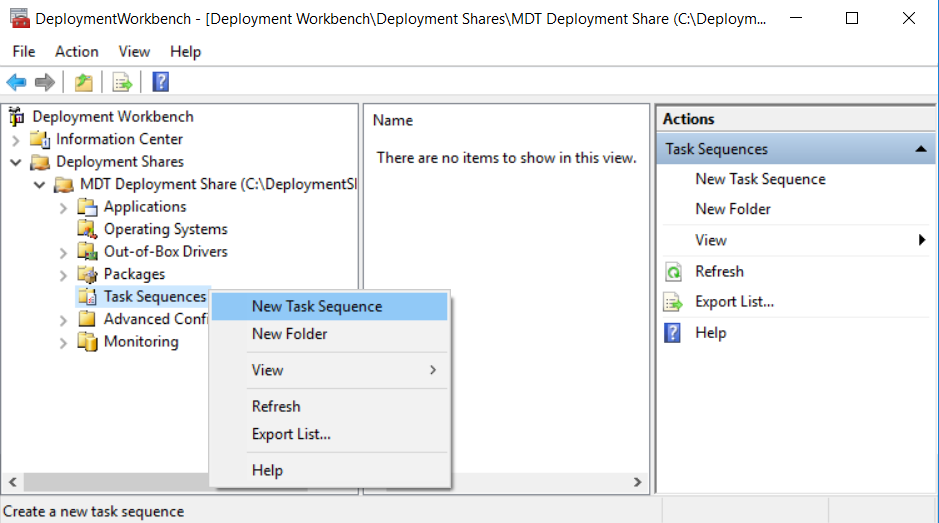
In part 3, we will be creating the build and capture task sequence and boot media. Right click Task Sequences > New Task Sequence
Enter a TS id and TS name

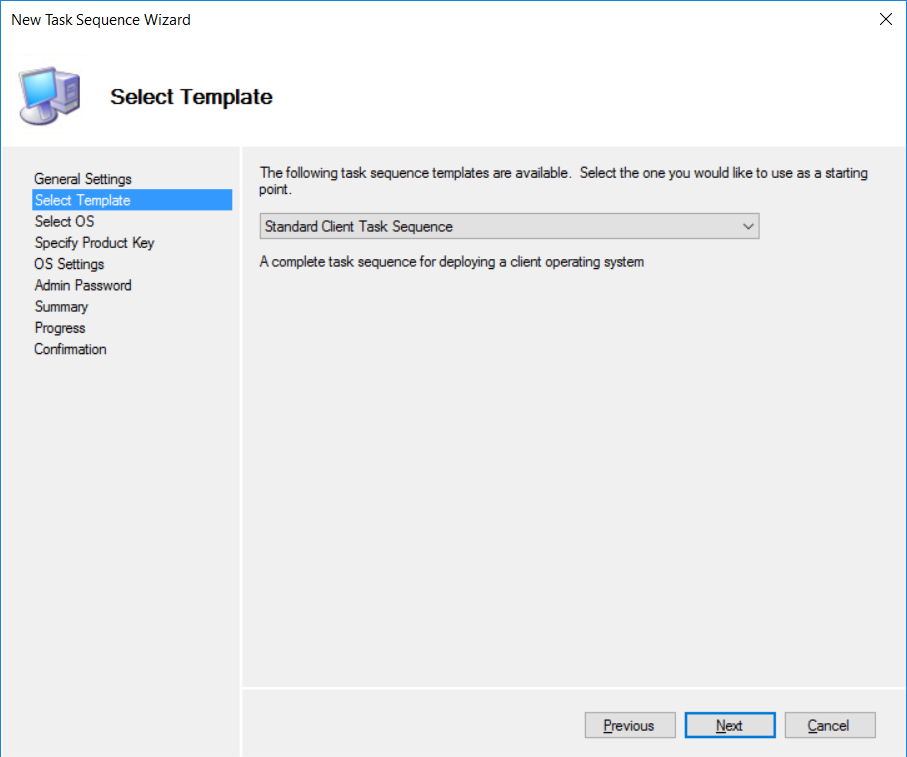
Choose Standard Client Task Sequence
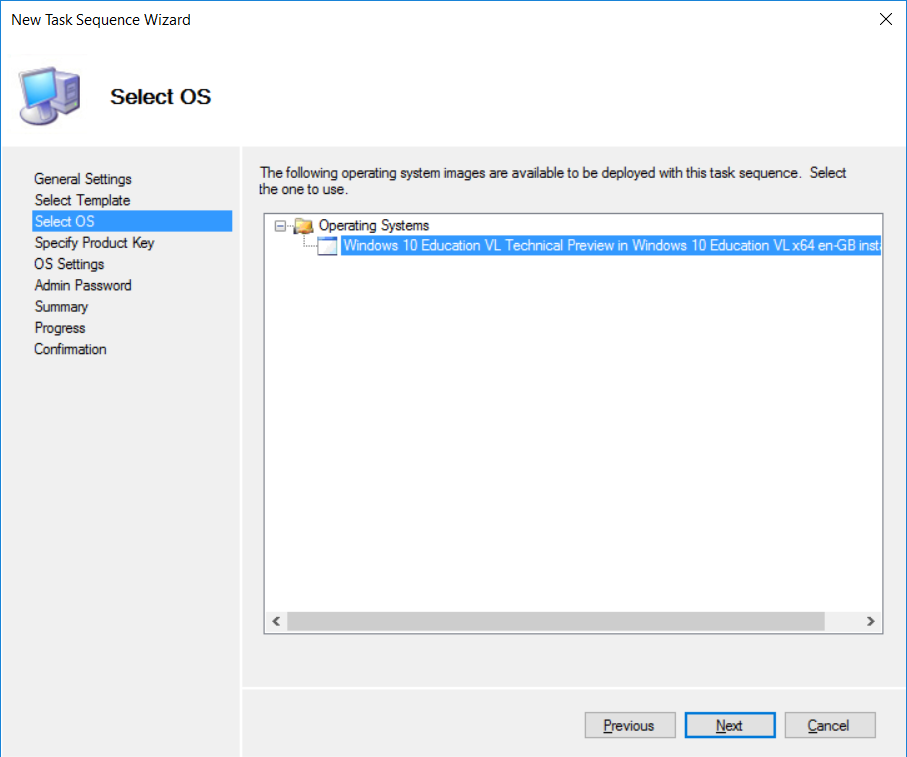
We will deploy the Operating System that we created earlier with this Task Sequence, select it and click Next
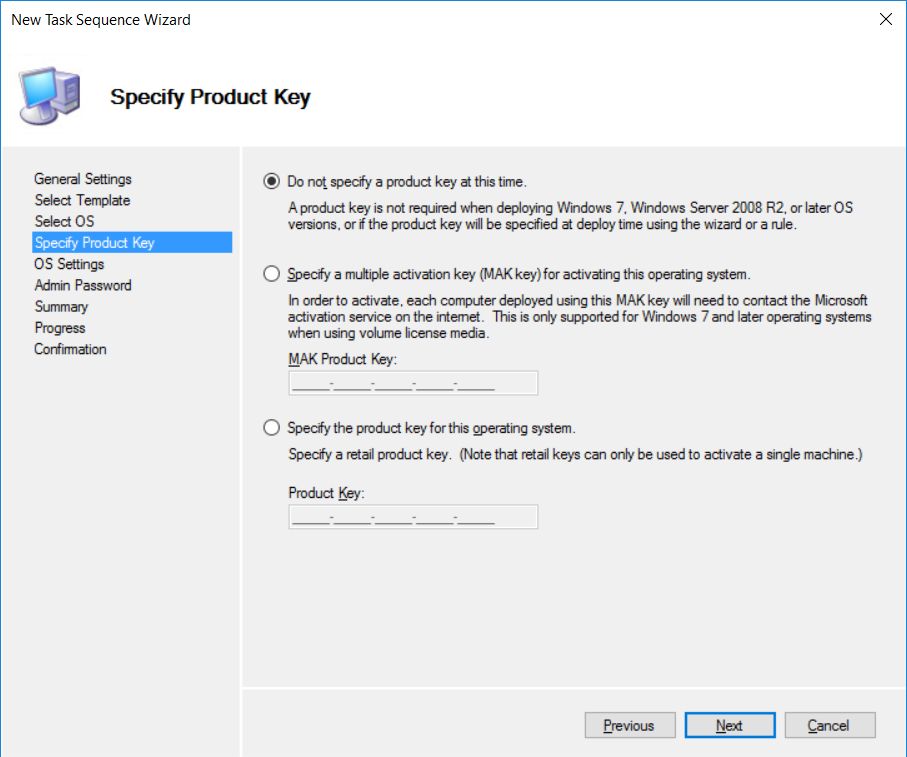
Do not specify a product key
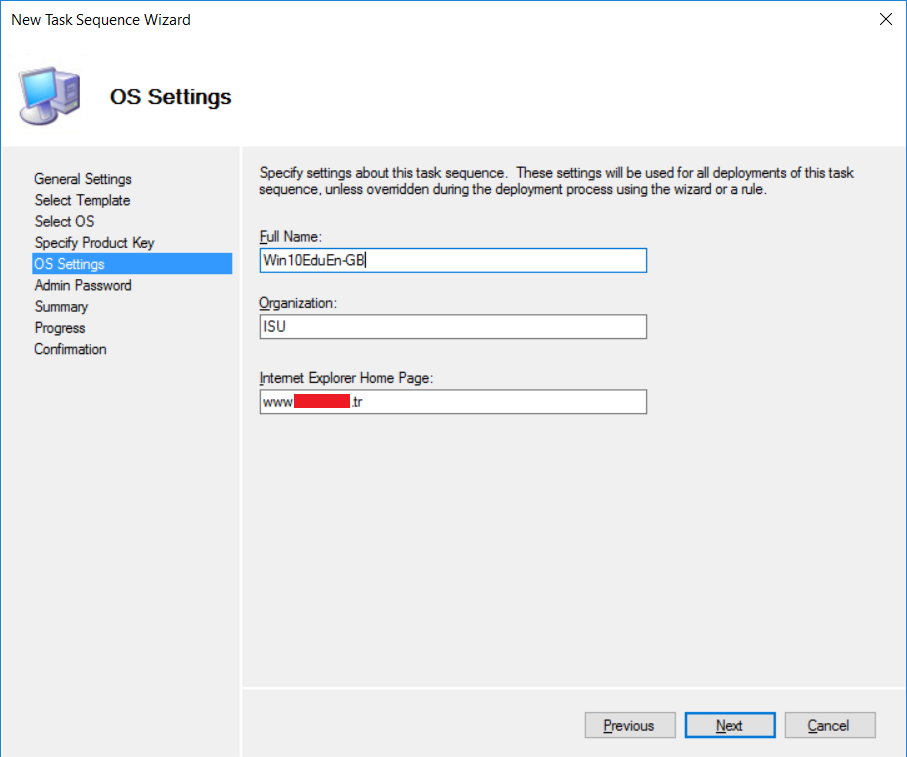
The task sequence you enter here will be used for all deployments of this task sequence.
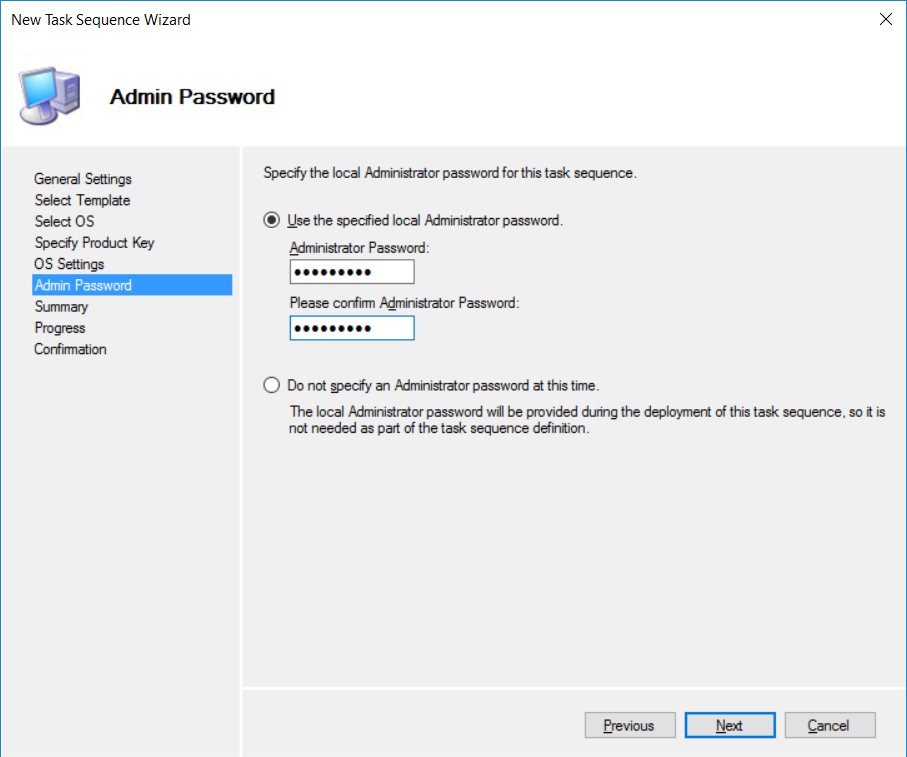
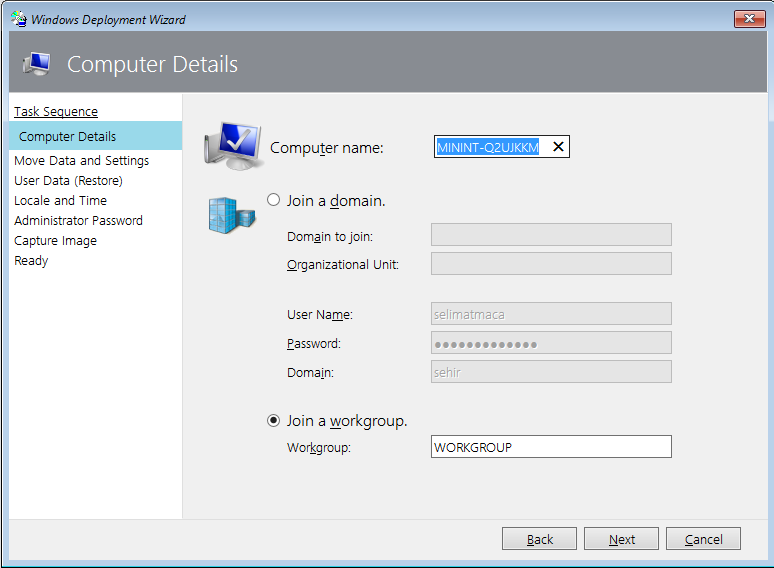
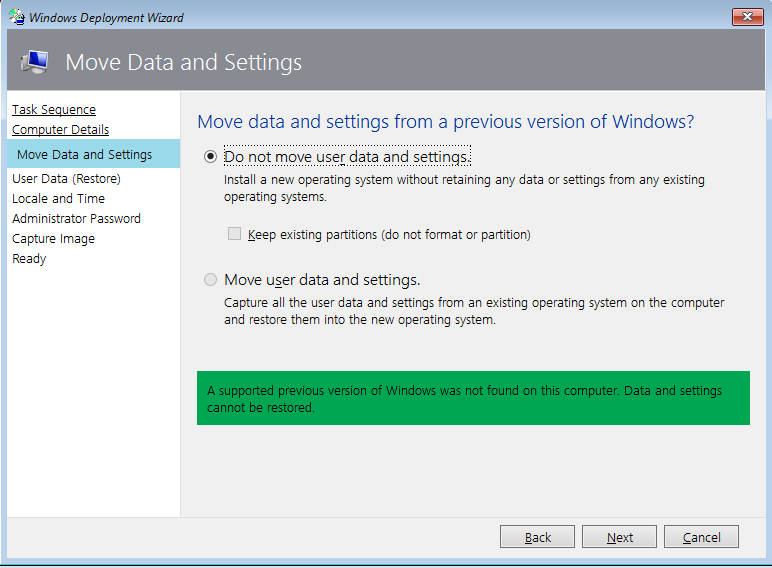
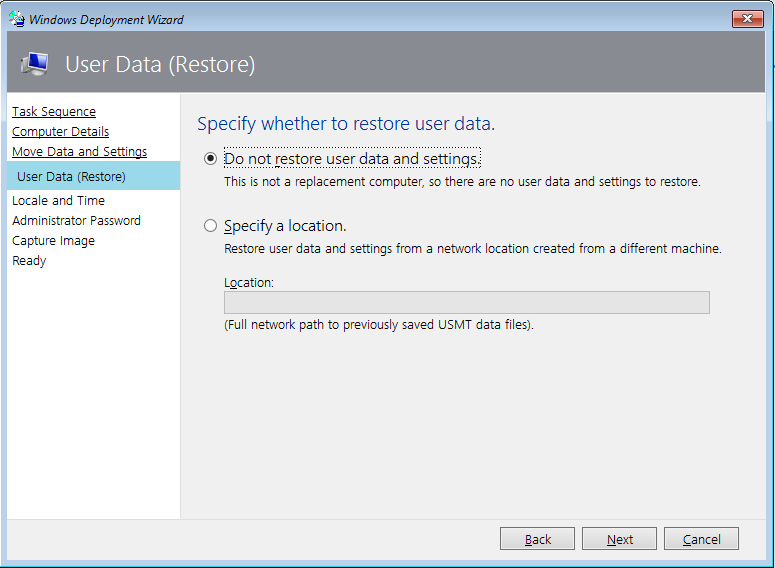
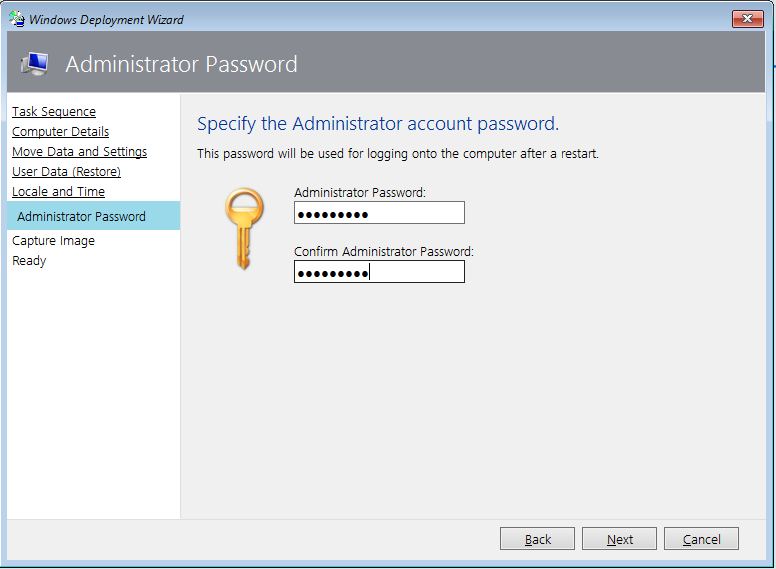
Specify the local admin password for this task sequence and complete the rest of the wizard.
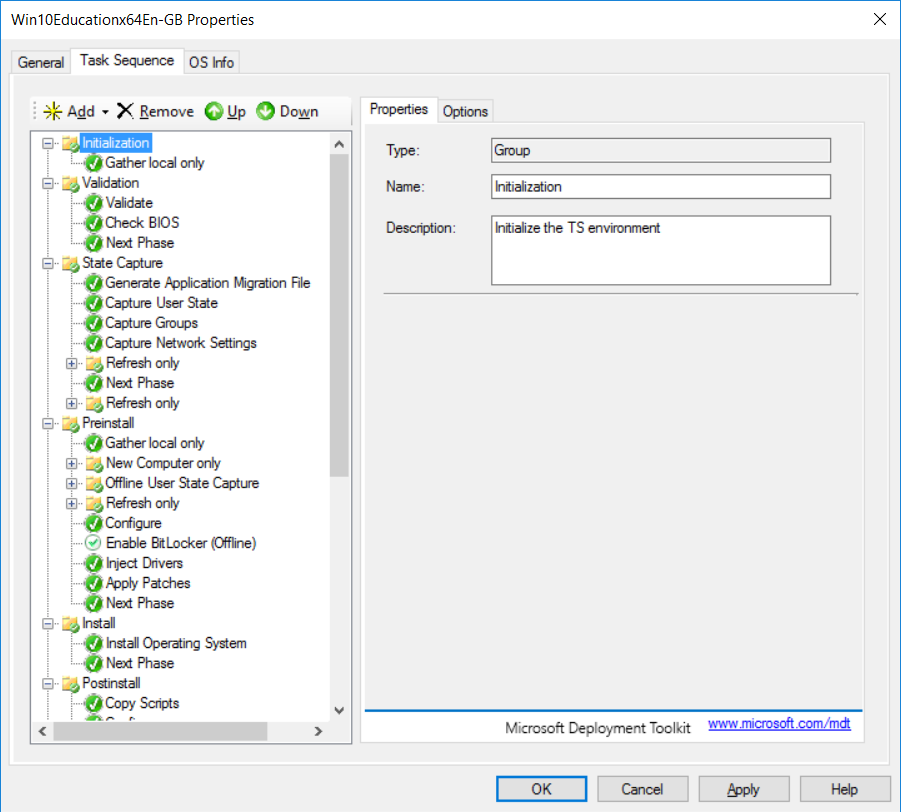
After the TS created, you can see the steps of the task sequence; right click and choose the properties > Task Sequence Tab
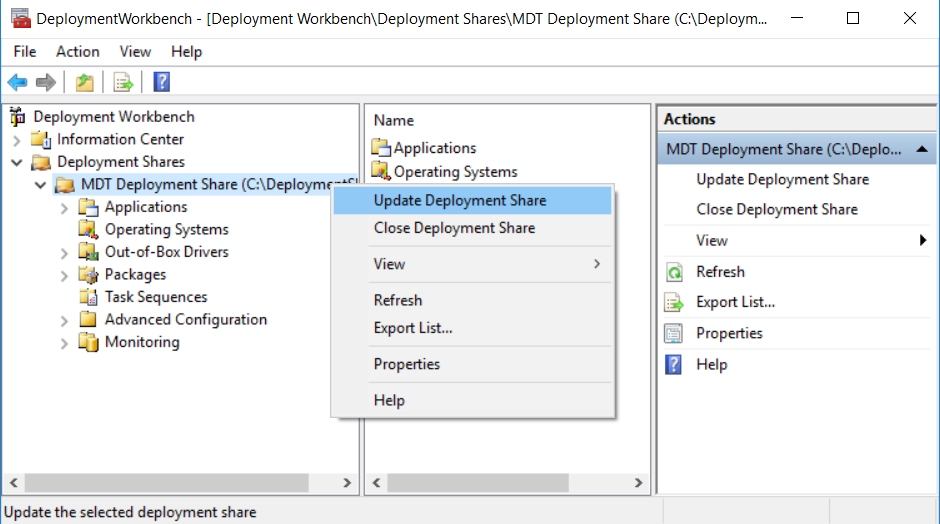
Now we need to create the boot media. Right click the deployment share and choose "Update Deployment Share".
Select "Optimize the boot image updating process" and complete the rest of the wizard.

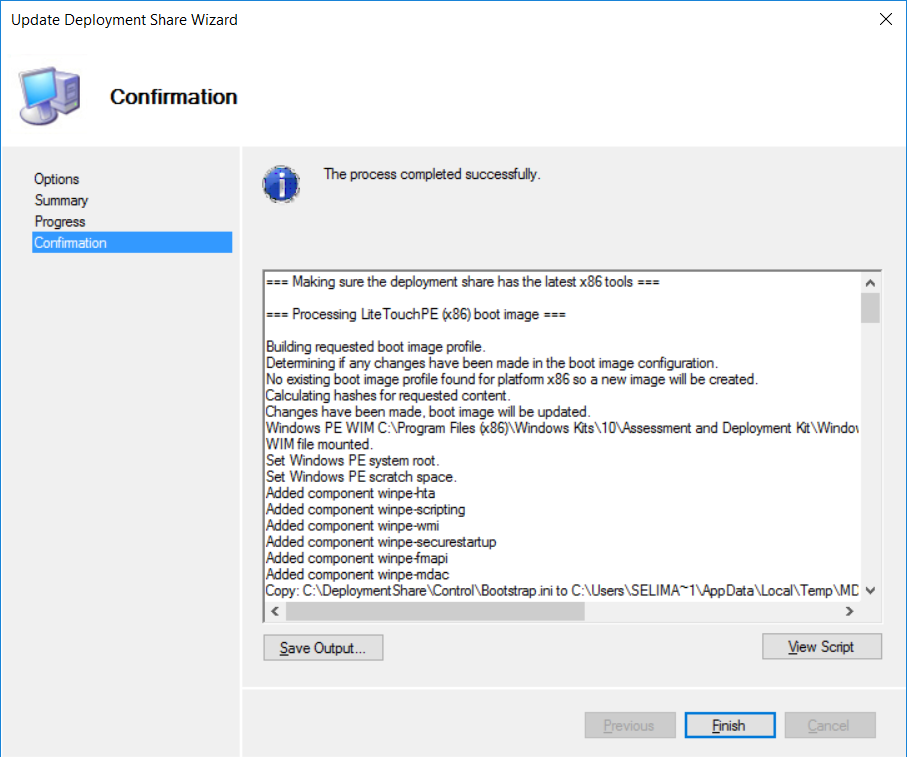
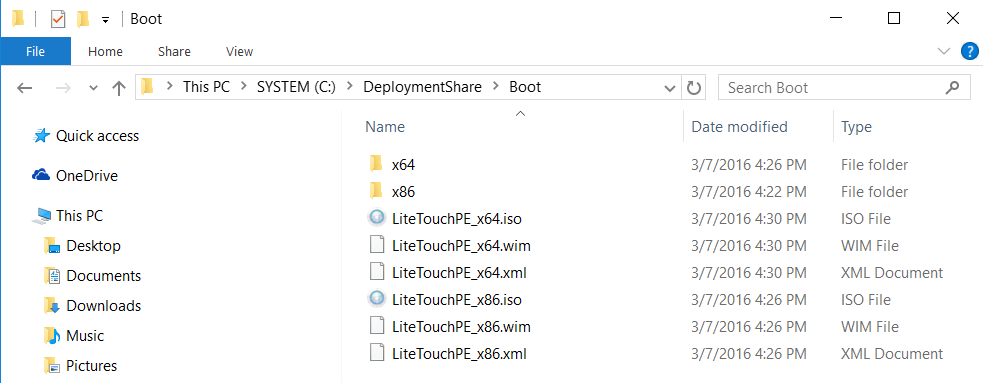
Boot media is created, you can find them under DeploymentShare > Boot folder
Part4:
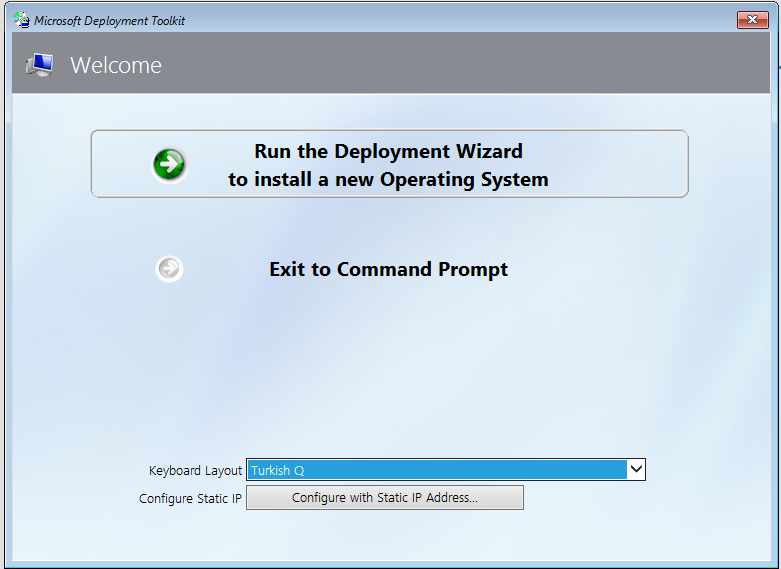
Now we need to build and capture the Win10 reference image. I use VirtualBox here to do that. Create a VM with an empty disk > Add the boot media ISO to the VM and start the VM.

Run the wizard
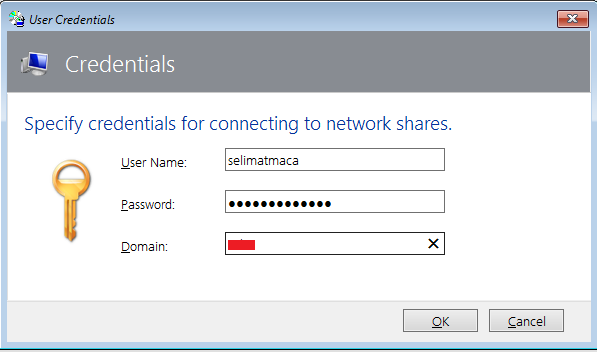
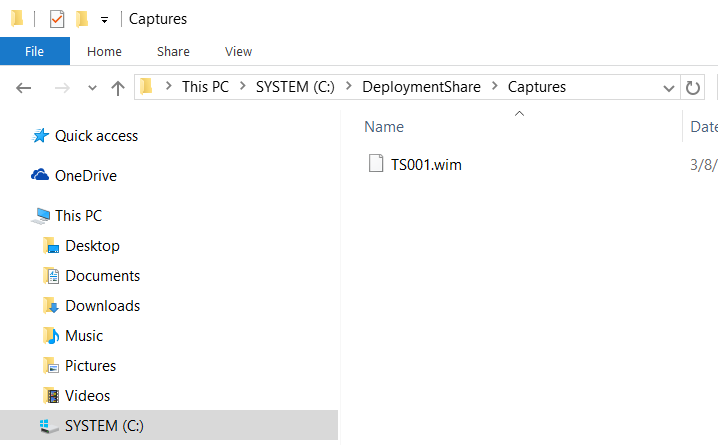
Specify an account that has write permissions to our DeploymentShare
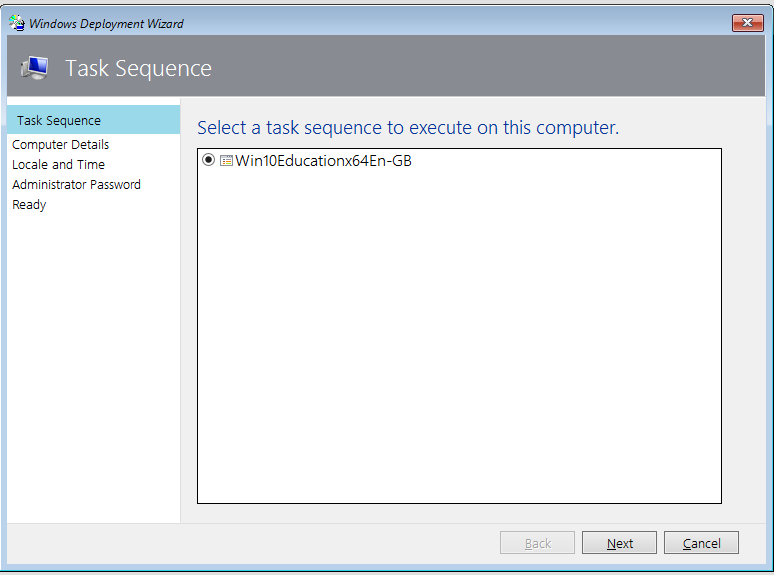
Select the Task Sequence that we created

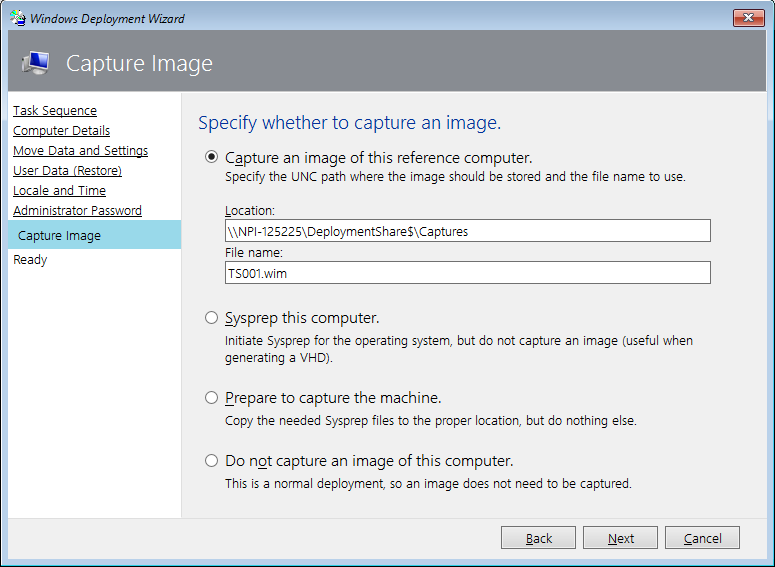
The Image is created but it does not have any applications or customization.
Captured Image should be totally generic. We should only install the things that will never change and We should not do this modifications manually, they should be done via task sequence. That way, if we have to change something on the image, we can do it easily deleting that specific task sequence. However you may have to add some modifications to your image before deploying on SCCM. If so, you can pause the build and capture task sequence and add your modifications by doing the following.
Now we will add another task to our task sequence which will pause the task sequence and let us to do reboots and the modifications that we need before image is syspreped and captured.
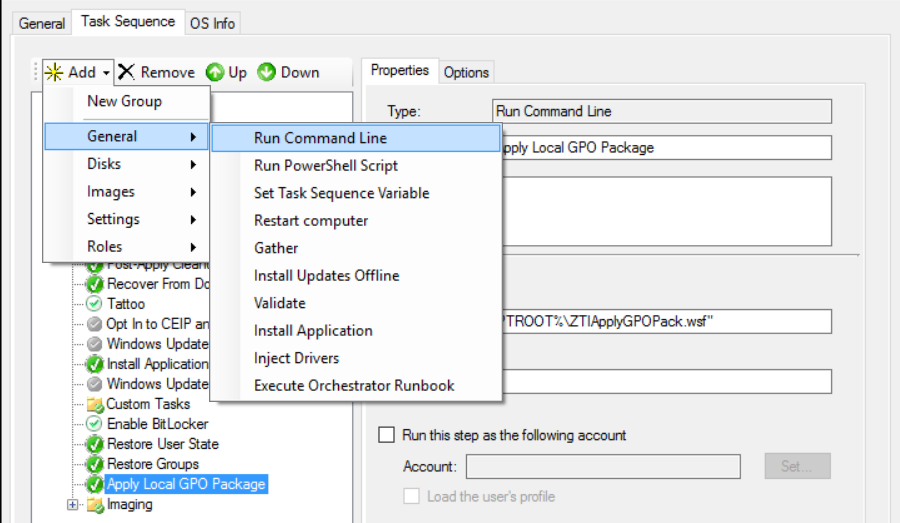
Start Deployment Workbench > Open the properties of the task sequence> click Task Sequence Tab> State Restore> Select Apply Local GPO Package> Add > General > Run Command Line
Enter the command, cscript.exe %SCRIPTROOT%\LTISuspend.wsf

Start the VM, run the task sequence again. After the build phase it will be paused, install applications you need. Do the required changes. You can reboot as many times as you need, install any applications you need or do registry customization. After you finish customization. Double click Resume Task Sequence and let TS complete.
