
In this article, I am going to create a report that shows Computer Names, computer Mac Addresses and their users. We will create our report in two steps. First creating the SQL query and then creating the report.
1. Creating the SQL Query:
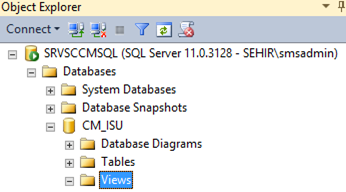
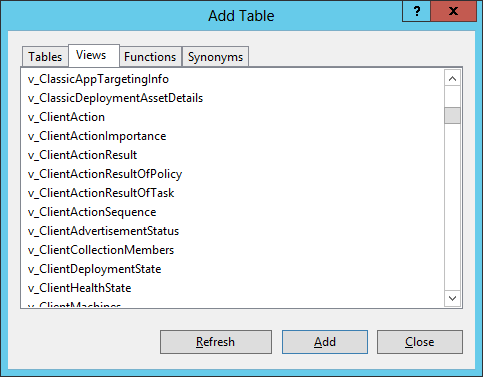
Log on to your SCCM Database Server and start MS SQL Server Management Studio Click Databases/CM_SiteCode/Views and right click to the view that holds the data that you need.
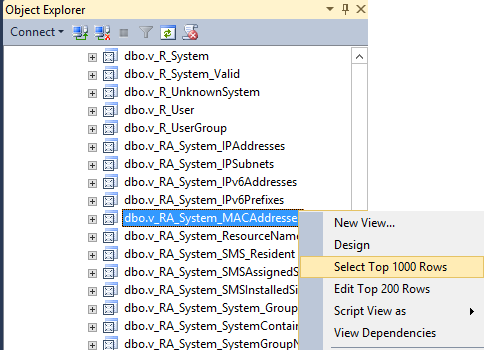
I need Mac Addresses so I right click and select Top 1000 rows. I am doing this to see and make sure that I am working on the correct tables.
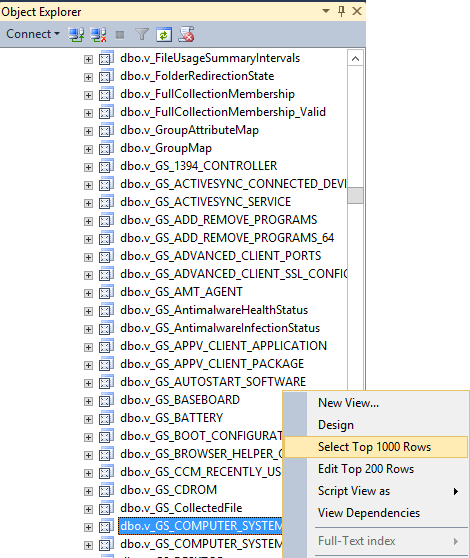
This time I am checking v_GS_COMPUTER_SYSTEM table if it is the correct table.
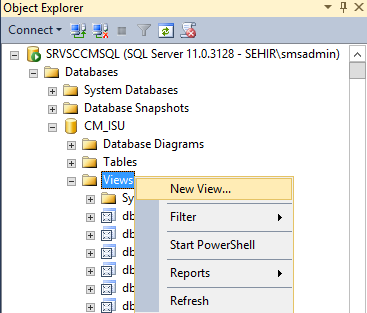
Now we know what tables we need. Right click on Views, and select New View.
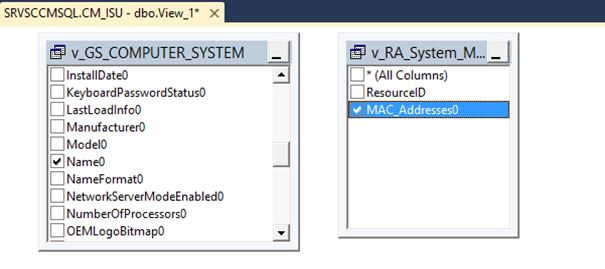
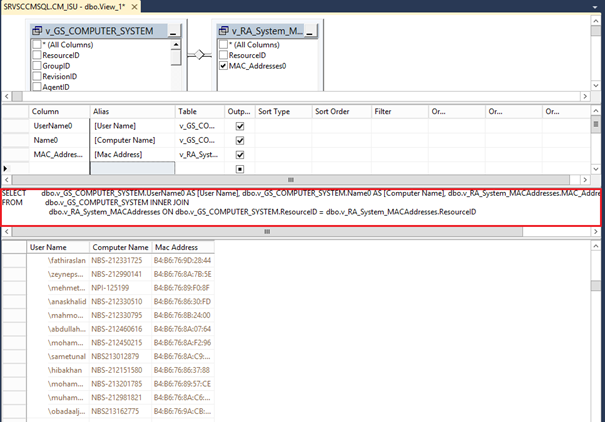
Click on Views tab and add v_GS_COMPUTER_SYSTEM table and V_RA_System_MACAddresses
Put a tick the fields you need (do not select Resource ID field)
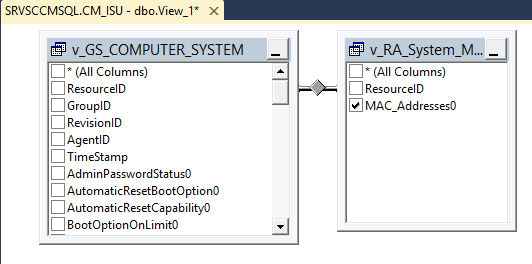
Now you need to make a relation between these 2 tables. So, Select Resource ID and darg it to the other table’s Resource ID. It should look like below picture.
If you want you can give your columns more friendly names like I did below.
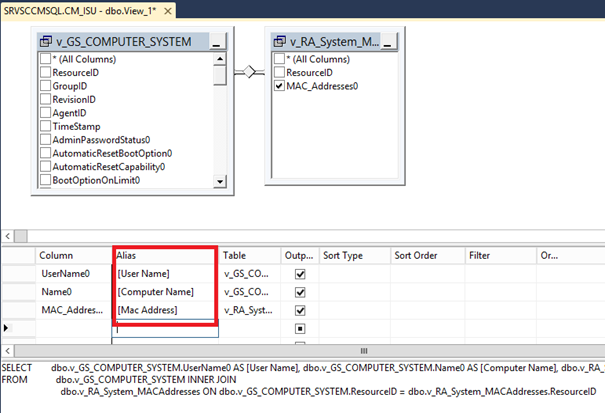
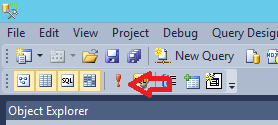
Now we can execute the query to see if it works. Press Ctrl and R or exclamation button at the top.
You can see the results at the bottom. We created the required SQL query. Now we need to copy the SQL query to an empty notepad.
2. Creating the Report:
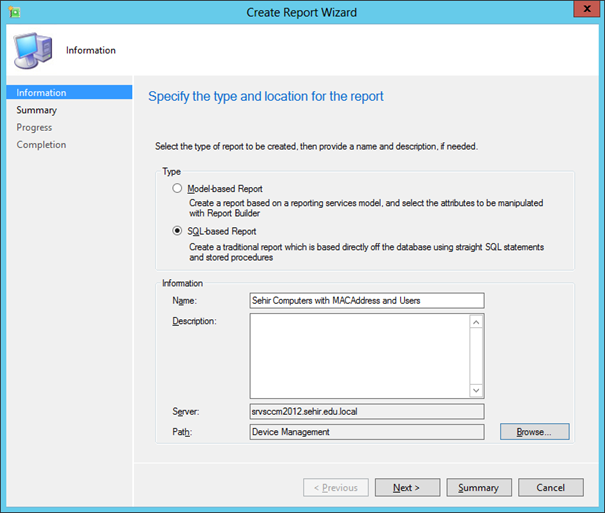
Log on to SCCM Server and navigate to Monitoring/Reporting/ right click on Reports and select Create Report. Select SQL-Based Report, give your report a name, click on browse and choose the most relative class for your report. Click Next – Next and Close. You will be prompted for the admin credentials at this point and Report Builder will start.
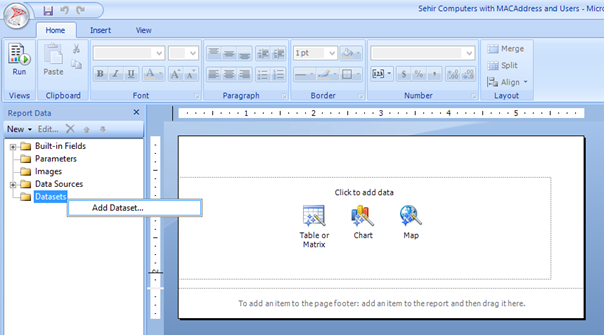
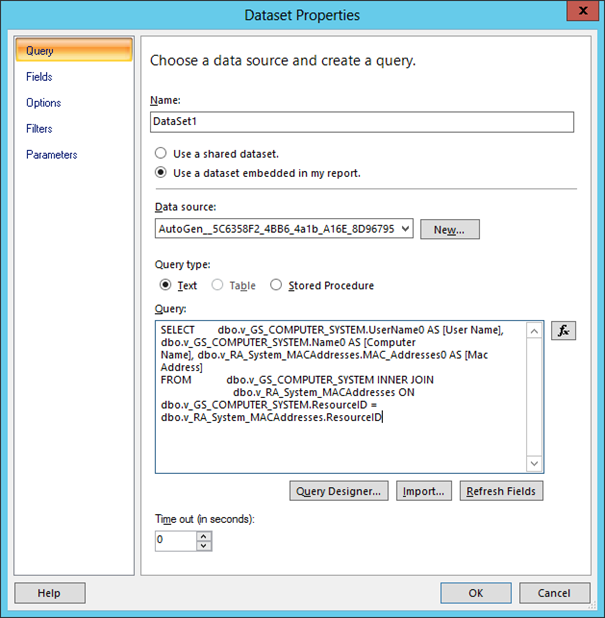
Add Dataset to the Datasets
Select “Use a dataset embedded in my report”. Select Datasource . Copy the SQL Query we created earlier into the Query field and the hit OK.
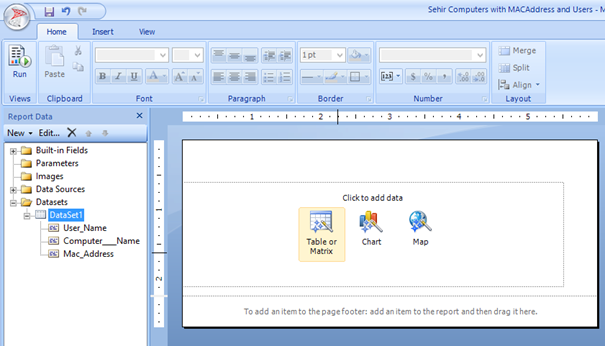
Now double click “Table or Matrix”
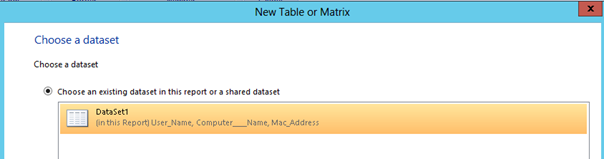
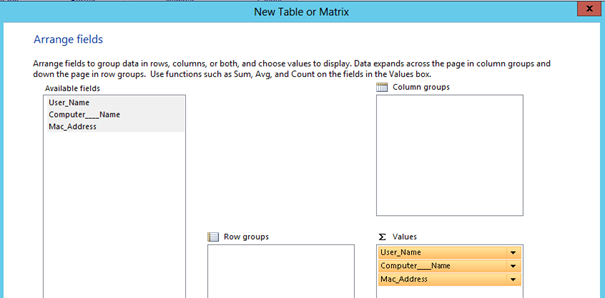
Select all the fields from Available fields and drag and drop them into Values field. Click Next Next and Finish
Save the report. Now we can see our report from. If you need you can also create a linked report and send it to your colleagues.
https://siteserveraddress.local/Reports/Pages/Folder.aspx