
ESXi is pretty simple and straight forward procedure. Before installig ESXi, check what ESXi version you can install on your servers. It would be enough just searching the server model.
https://www.vmware.com/resources/compatibility/search.php
You can download the ESXi installation iso from https://my.vmware.com/. Burn the ISO to a CD/DVD and boot the hosts from it. After the installation completed onto server's local disk,
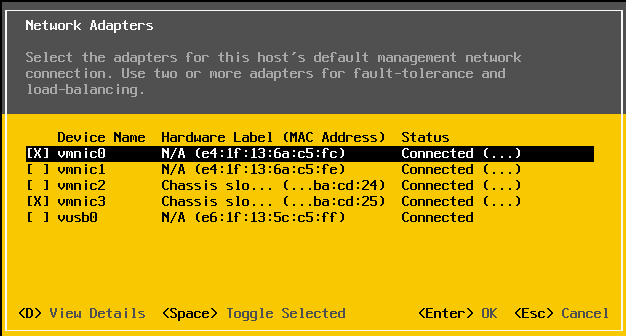
Navigate to Configure Management Network> Network Adapters > Select the VmNetwork NICs to be used as Management Network Connections by hitting Space key.
The order of the NICs might be misleading. Therefore, you can simply unplug the vmotion cables from the server for now and check the status column and make sure vmnetwork NICs are Connected and selected.
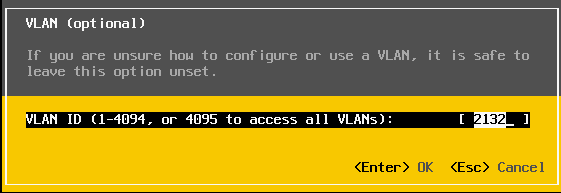
Navigate to Configure Management Network> VLAN> Enter VLAN ID > Enter
VLAN ID we enter here must be Management Network Connection VLAN which is 2132 in my situation.
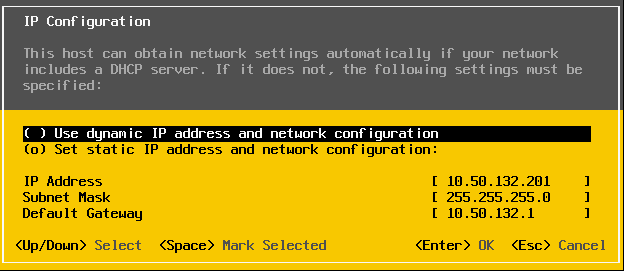
Navigate to Configure Management Network>IP Configuration> Assign ESXi IP address, Subnet and Default Gateway
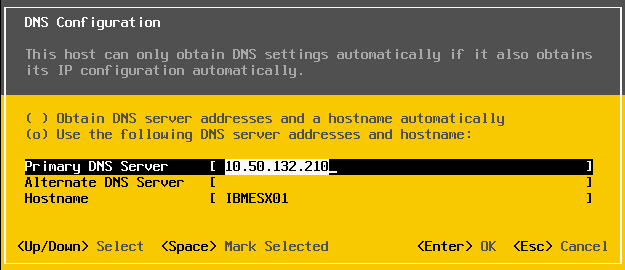
Navigate to Configure Management Network> DNS Configuration> Enter DNS Server IP address and Host name for this ESXi server.
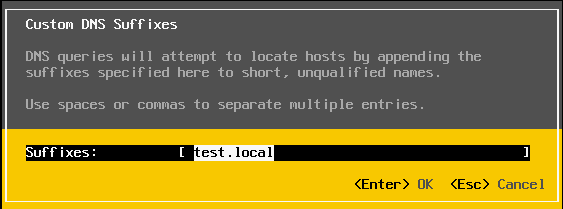
Navigate to Configure Management Network>Custom DNS Suffixes> Enter your domain
Just repeat the same procedure for the rest of the server according to our IP plan.
In Part4, We will configure SAN Switches.